Given the digitalization of almost every aspect of life, carrying out day-to-day activities comes with ease. You can achieve tons of things using the internet, and online payment is one of them. You can use several channels to make payments online. These channels are swift, secured, and safe. This article will be reviewing Apple Pay in Canada and how to use it on different Apple devices.
What is Apple Pay?
Apple Pay is a mobile payment system created by Apple Inc. It is a household name as it is an alternative to other payment channels in Canada due to its simplicity, ease of use, and security.
Apple Pay makes it simple and safe to make payments via iOS applications, watchOS applications, and Safari webpages. It is also available in Business Chat and iMessage extensions as well. With Apple Pay, you can transact safely using Face ID, Touch ID, or double-clicking Apple Watch. Apply pay is mainly utilized to:
- Pay in stores
- Pay within apps
- Pay in safari
- A transaction with apple pay or apple cash
- Ride transit
- Pay in business chat
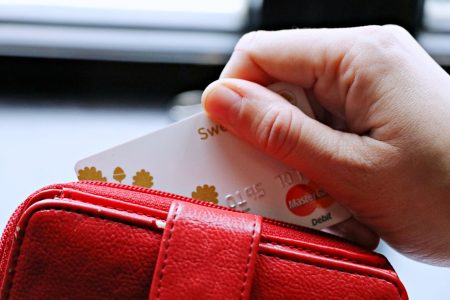
You can add as many credit cards and access them through iPhone, iPad, Mac, or apple watch. Note that you will have to set a particular card as default, and you will receive notification of transactions through it.
Financial Institution that Accepts Apple Pay in Canada
There are tons of financial institutions that accept APPLE Pay in Canada. Below are some of them:
- ATB
- Bank of Montreal
- CIBC
- National bank of Canada
- Royal Bank of Canada
- Scotiabank
- Access credit union
- American express
- Cambrian credit union limited
Setting Up Apple Pay on an iPhone/iPad
To successfully use Apple Pay on your iPhone/iPad, you will need to set up the Apple Wallet Apple by adding your cards. Then the Apple wallet will store your cards using the data when you initiate Apple Pay to pay for goods and services.
You can add your credit or debit card by;
- Go to setting on your iDevice
- Click on Wallet & Apple Pay
- Tap Add Credit or Debit Card
- Click on Continue
Alternatively, you can scan your card information using your phone camera. Note that your bank will have to verify your information, and you may need to provide extra data for verification.
During this verification process, you may receive a phone call or text message from your bank with a unique code that you will enter. Once you have passed the verification process, click on next, and you can start using Apple Pay to transact.
1. How to Transact using Apple Pay on iPhone
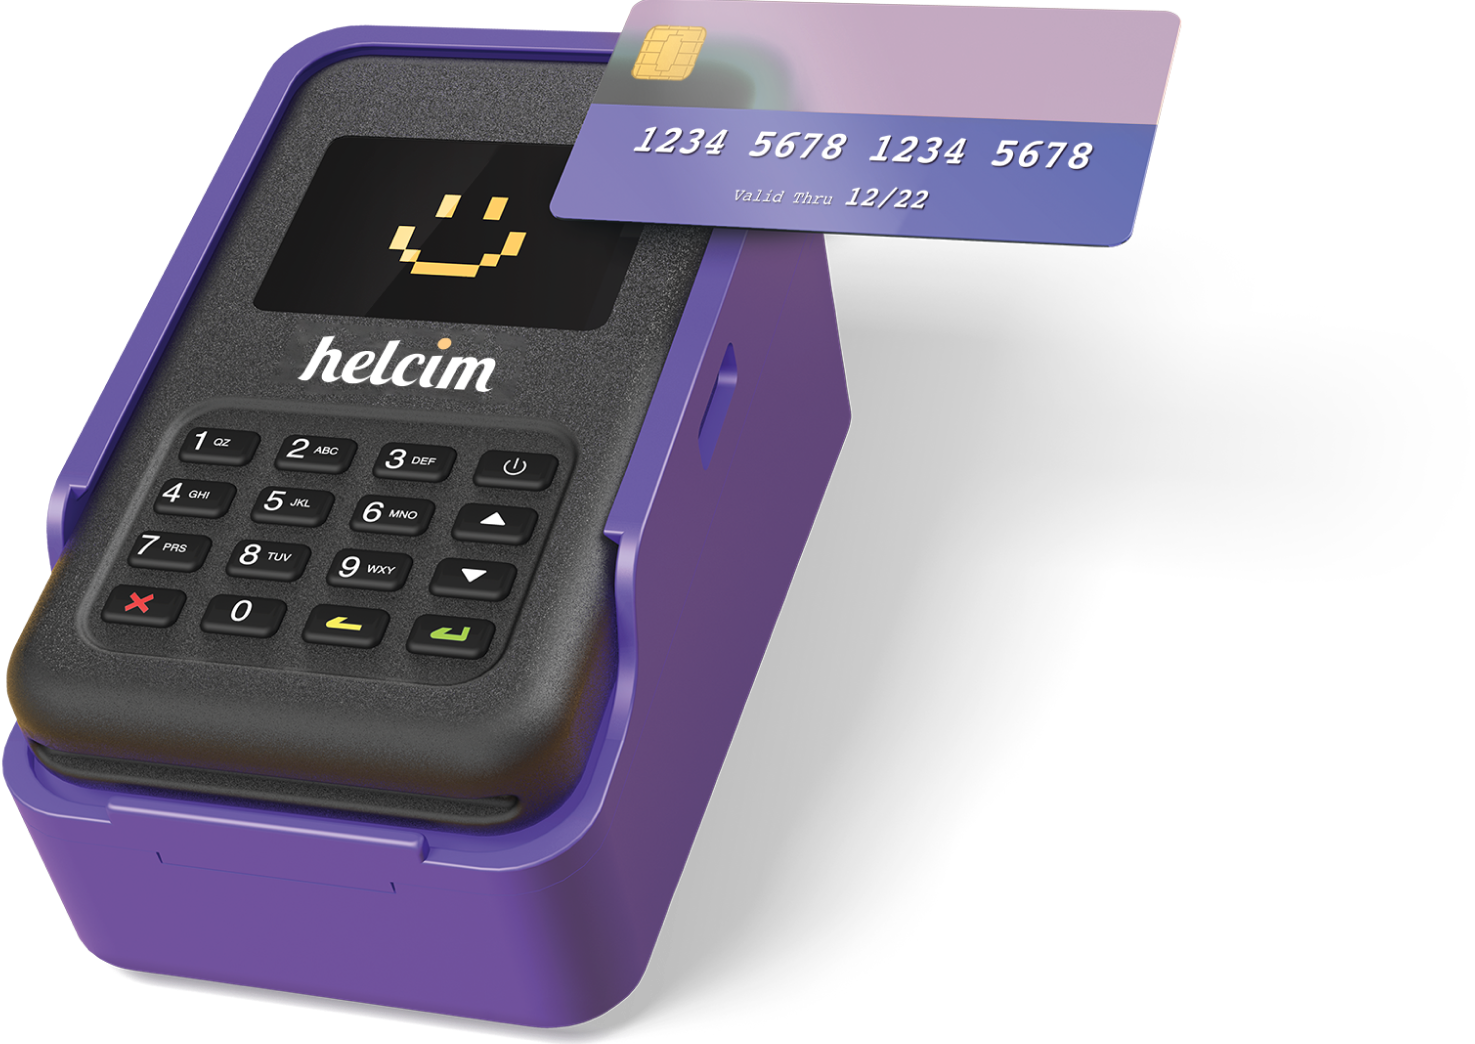
Depending on the iPhone model you are using, you will need either a Face ID or Touch ID to initiate a payment on Apple Pay. Note that Apple Pay requires the Near Field Communication (NFC)antenna to process transactions. Your Apple Pay launches depend on the iPhone you are using, and each transaction will have to be authorized by a Face ID, Touch ID, or Passcode.
If you are using an iPhone with a Touch ID, double-tap the Touch ID home button and press your finger on it until our screen displays “Hold Near Reader.” Alternatively, you can use a passcode option if your fingerprint is not recognized.
For iPhones with Face ID, you will have to double press the sleep/wake button on the right-hand side of your device to initiate Apple Pay.
Your payment authorization will occur via Face ID. However, if you have Face ID issues, you can choose the “Pay with Passcode” option. Once your Face ID or Passcode is recognized, your screen will immediately display “Hold Near Reader.”
Once you get this display message, you can place your device close to a contactless terminal. You will get a ping or vibration on your device that confirms the payment. Your payment receipt is accessible on your Wallet app.
Setting Up Apple Pay on iWatch
You can make payment via your Apple Watch using Apple Pap by setting up the app on your watch. To set up Apple Pay:
- You will need to open the Watch app on your iPhone.
- Ensure you are in the “My Watch tab” – you can find it at the bottom left of your screen.
- Navigate down to Wallet & Apple Pay
- Click on Add Cad
Your bank will verify your card details and notify you once your card is ready for Apple Pay use.
2. How to Transact using Apple Pay on iWatch
You can launch Apple Pay on your iWatch by double-clicking the button close to the Digital crown. You will see your default payment card on your screen with a “Hold Near Reader to Pay” display message.
Proceed to place your watch up to the payment terminal, and a pulse and beep will confirm that your payment is successful. If you do not want to use your default card, you can swipe right to left on your watch to select any other registered you wish to use.
3. In-Apps Apple Pay Transactions
In-apps on Apple also support Apple Pay. That is, you can choose Apple Pay when checking out after ordering from an app. Note that you will need to place your finger on Touch ID to authenticate the transaction or use Face ID or passcode when paying.
Changing Default Card on Apple Pay
Setting a card as a default makes payment swift and easy. You can always change a credit card to another whenever you want, to change a card:
- Go to your app setting on iPhone
- Scroll down to Wallet & Apple Pay
- Navigate down to Transaction Defaults
- Click on Default Card
- Proceed to select the card you want as your default Apple Pay card
Conclusion
Apple pay is quite popular and widely used among Canadians as it is easy to use and ensures a secure transaction. It is usually advisable to have a backup plan if you lose your phone or the app stops working.
Although Apple Pay isn’t available for all transactions, it is available for some. Note that every payment app has its pros and cons, so determining the best should be based on personal interest.